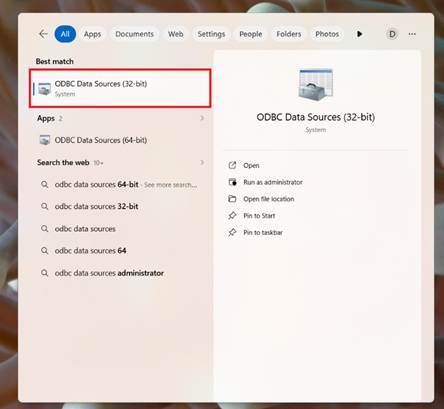
Step 1 – Open the ODBC Data Source Administrator (32-bit)
- On the server, open the Start menu and search for ODBC.
- Select ODBC Data Sources (32-bit).
- Right-click it and select Run as administration.
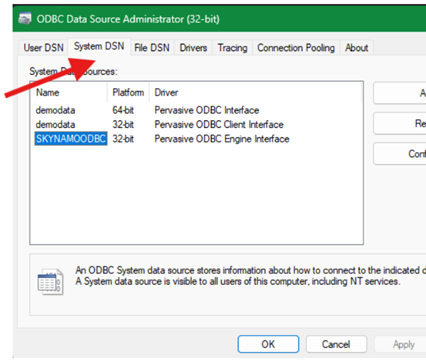
Step 2 – Navigate to the System DSN tab
- Click the System DSN tab.
Step 3 – Locate the Skynamo ODBC entry
- Find and select Skynamo ODBC.
- Click Configure.

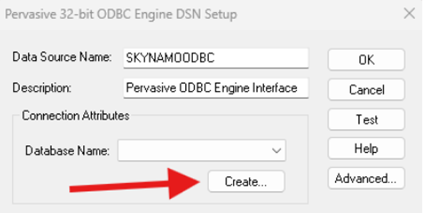
Step 4 – Create/Select a new database entry
- Select the new database in the dropdown.
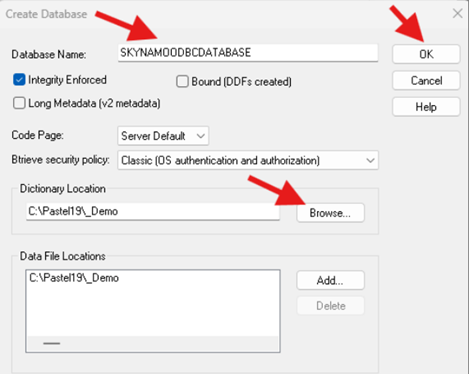
- If the required database name does not already exist within the dropdown create a new Database and click Create to add a new entry.
- Name it to reflect the new financial year, e.g. Skynamo ODBC 2027.
Step 5 – Point to the new company folder
- Click Browse to navigate the directory.
- Sage company folders are typically located under C:\Pastel19\
- Expand the directory and select the new financial year company folder (e.g. MSM2027).
- Click OK to confirm.
- Click OK again to close the browse window.
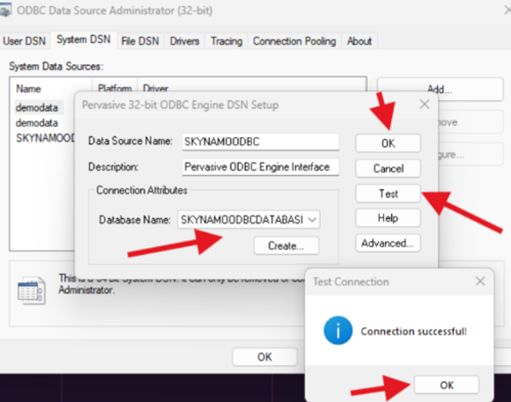
Step 6 – Test and save the connection
- Click Test.
- Confirm the result shows Connection Successful.
- Click OK to close the result.
- Click OK to save and close the configuration.