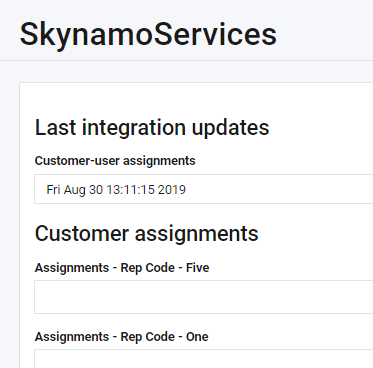
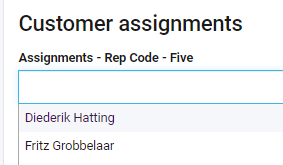
Rep code assignment links each rep code in your accounting system or ERP to a user in Skynamo, so every customer with that rep code is automatically assigned to the right rep.
Where you do this depends on how your integration is set up: through the Integration Marketplace (a guided wizard) or directly under Integrations (a single settings page).
Both routes do the same job.
Please note: There needs to be at least 1 customer assigned to the rep code for it to pull into Skynamo in your accounting package or ERP.
To see which method applies to you navigate to Settings and Integration Marketplace 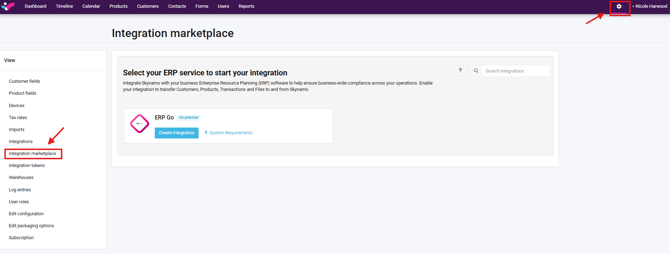
- If your screen opens with a "Dashboard" - follow Method 1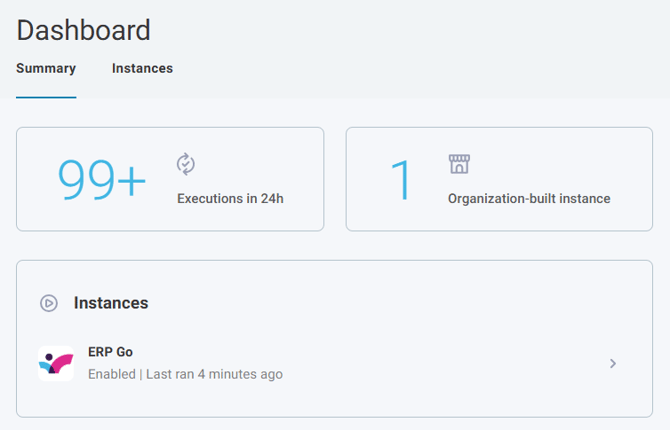
- If your screen opens with the ability to "Start your integration" - follow Method 2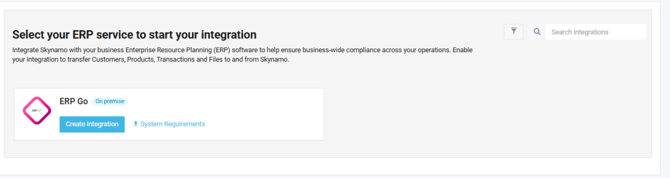
Method 1: Rep Code Assignments through the marketplace wizard
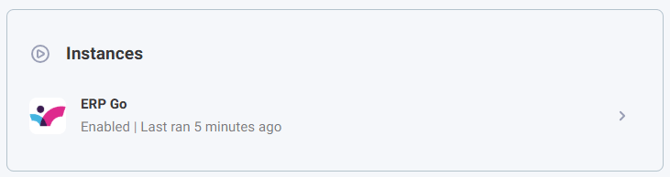
Step 1: Click on "Instances" in the integration marketplace
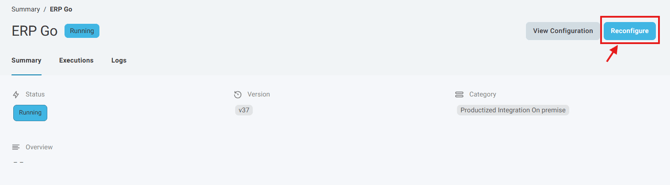
Step 2: Select "Reconfigure"
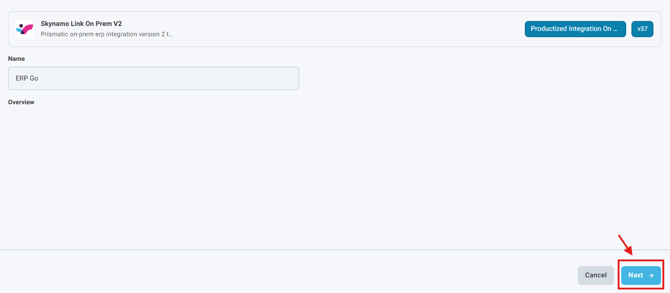
Step 3: Click the "Next" button until you get to the "Rep Code UserName Mapping" page
Step 4: Click on Add to RepCode UserName Mapping

Step 5: Match the Rep Code as per the ERP to the Skynamo User:

Repeat steps 6 and 7 until all of your users are mapped to their rep codes. You can map more than one user to a rep code and more than one rep code to a user.
Step 6: You can now click Next at the bottom-right corner until you get to the last page where you click Finish, which will take you to the original page

Method 2: Rep Code Assignments through Integration
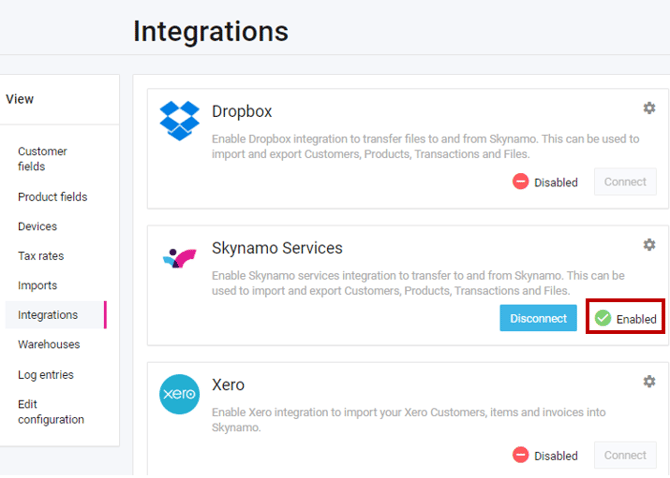
Step 1: Navigate to Settings and select "Integrations" on the left-hand side 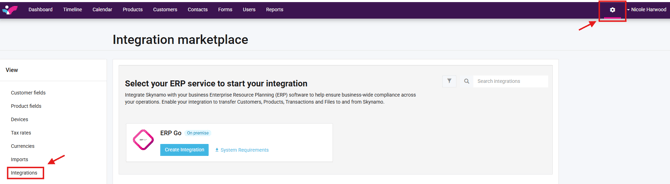
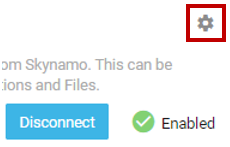
Step 2: Identify the active integration; you will be looking for the "Enabled" keyword. In the case mentioned below, the Skynamo Services connector is being used.